Post content has been hidden

To unblock this content, please click here

Andrea
VIP May 2012

Addressing lined envelopes

Andrea, on January 15, 2012 at 1:44 PM

Posted in Planning 22

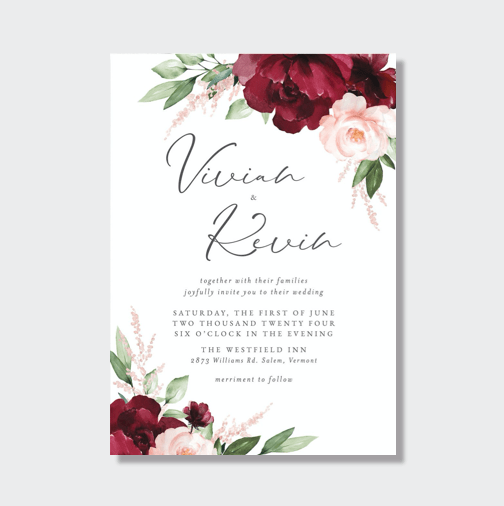
I bought some beautiful wedding invitations with lined envelopes. I spent a little more money on them than I had originally planned to spend on invitations, so when they gave me the option to print addresses onto the envelopes for an extra fee, I got cheap, and declined. I'm kicking myself now....

I bought some beautiful wedding invitations with lined envelopes. I spent a little more money on them than I had originally planned to spend on invitations, so when they gave me the option to print addresses onto the envelopes for an extra fee, I got cheap, and declined. I'm kicking myself now.

While the lined envelopes are beautiful and add an extra element of formality to the invitations, they're too thick to run through a printer! I stopped by Kinko's and they told me that they couldn't help me out. Last night, FMIL and I met with the owner of a paper company and print shop, and she told me the same thing. Ugh!! FMIL offered to help pay for a calligrapher, but the qoute that we received was crazy expensive. I can't justify having anyone spend that much on addressing our invitations. Our other options are putting labels onto the envelopes (I think that looks tacky for these invites) or to handwriting the invitations.

How have you addressed your lined envelopes?

22 Comments

  • A
    Just Said Yes July 2013
    Anonymous ·
    • Flag
    • Hide content

    I found a way to print on lined envelopes. Just in case anyone finds this page with google, like I did, here's what worked with my printer (a Canon MP610):

    1) Use the manual feed rather than the tray. This is advisable anyways since it keeps the paper flat while printing.

    2) Open up the envelope. This makes it slightly thinner.

    3) Set your printer to the thickest paper setting. In my case, the thickest default setting is "double sided photo paper." Changing this setting actually opens up the space between rollers in the feed a bit so that the printer can process thicker paper. I could not print my envelopes using the "plain paper" setting.

    4) Change the printer and page size settings within your word processor to match the dimensions of your open envelope. Using the rulers in the word processor helped me to get my text in just the right place.

    Continued in the next post..

    • Reply
  • A
    Just Said Yes July 2013
    Anonymous ·
    • Flag
    • Hide content

    5) Edit and place your text. If you want the return address on the back of the envelope, you may need to print the return addresses on one pass and the addressees on another pass. The reason is that the return address on the flap will need to be upside down relative to the addressee. My software wouldn't allow me to make the text upside down.

    6) Be prepared to experiment with the text placement until you get it where it needs to be. You might need to print more than one trial envelope to get it right. Good luck! Smiley smile

    • Reply

You voted for . Add a comment 👇

×
WeddingWire celebrates love ...and so does everyone on our site! Learn more

Groups

WeddingWire article topics