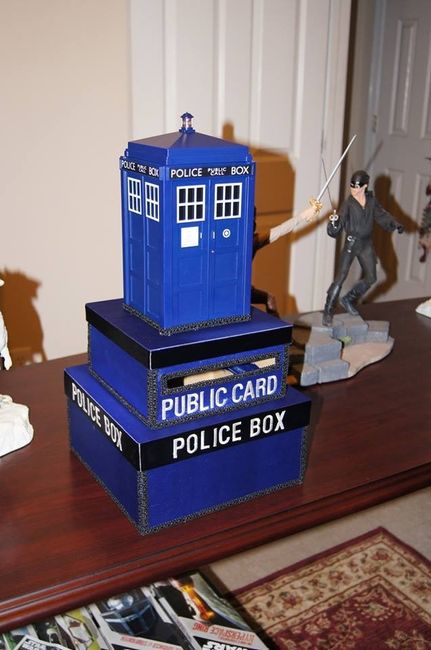


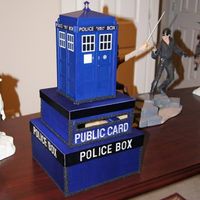
Finished with the card box! I tried to update my other thread but for some reason I just had a lot of trouble getting it to populate. Here is the finished product and it is for my FH who is a big Doctor Who fan.
Pictures
1. Finished box.
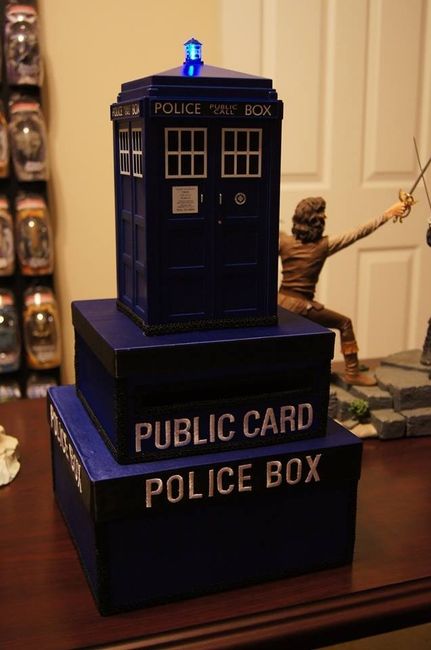
2. Top lights up!
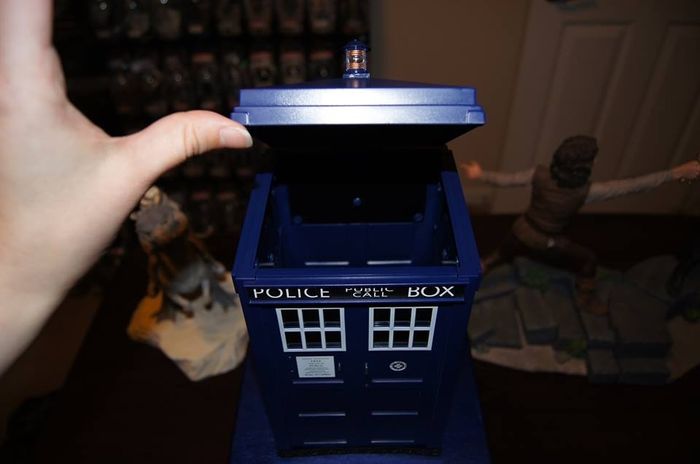
3. Top opens for cards as well.