


Hey guys!
I wanted to make those awesome wooden wedding aisle signs that you see on Etsy and thought it would be a breeze. Bought the higher end wood at Lowe’s, stained them, and now I’m ready to do transfer of lettering with paint pens. PROBLEM- my paint pens don’t seem to want to write very good on the stained wood and I can’t figure out why! It making it look terrible, and I’m wondering what I could have done wrong. I used the Minwax Wood Finishing Cloths— thinking it was most convenient as it was a wipe.
Any ideas? Thanks!
Post content has been hidden
To unblock this content, please click here
Related articles
Wedding Ceremony
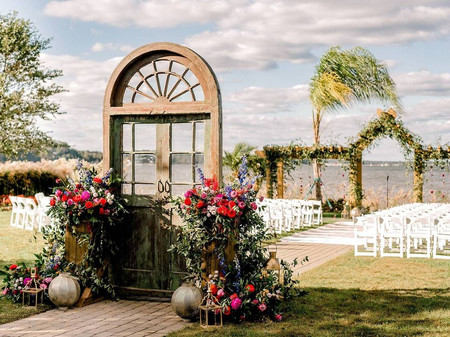
20 Ways to Decorate the Aisle for an Outdoor Wedding...
Set the scene for a beautiful vow exchange on your big day with these...

Speeches & Traditions
The Ultimate Guide to Greek Wedding Dances
Rompi Rompi to Mavi Mavi, kick off your shoes and get ready to review classic...

Wedding Services
The Best Black Friday and Cyber Monday Deals for Your...
The holiday season is the perfect time to score wedding deals. These Cyber...