Dyed Fabric Favor Bags
Follow along as Brittni Mehlhoff of Paper & Stitch shows us how to make these vibrant favor bags!
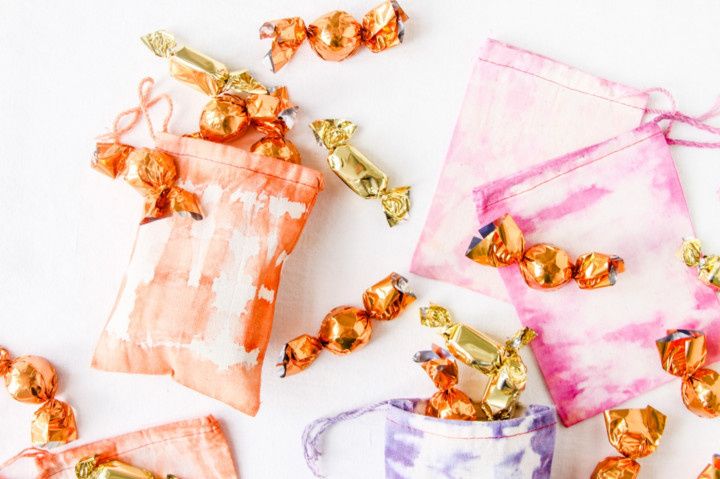

Brighten up your wedding favors with this simple dyeing project! You can easily customize them to match your wedding colors and the bags can be repurposed for storing jewelry and small odds and ends long after the big day has ended.
Follow along as Brittni Mehlhoff of Paper & Stitch shows us how to make these vibrant favor bags!
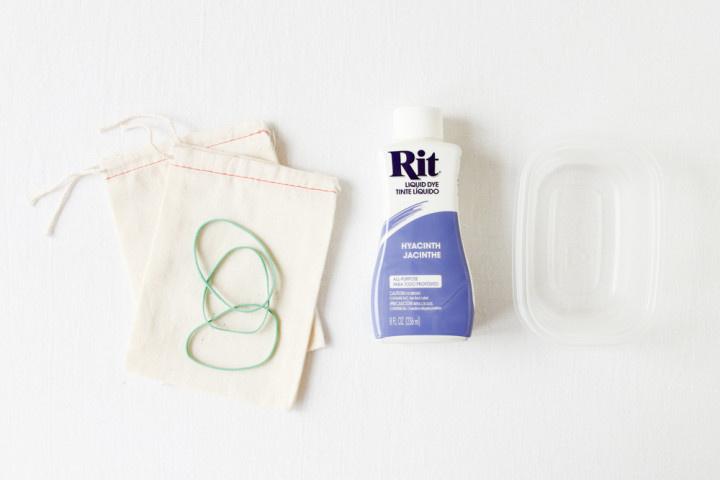
Materials: cotton muslin 5x7 bags | fabric dye (like the Rit brand) | rubber bands | small container of hot water for dyeing | gloves
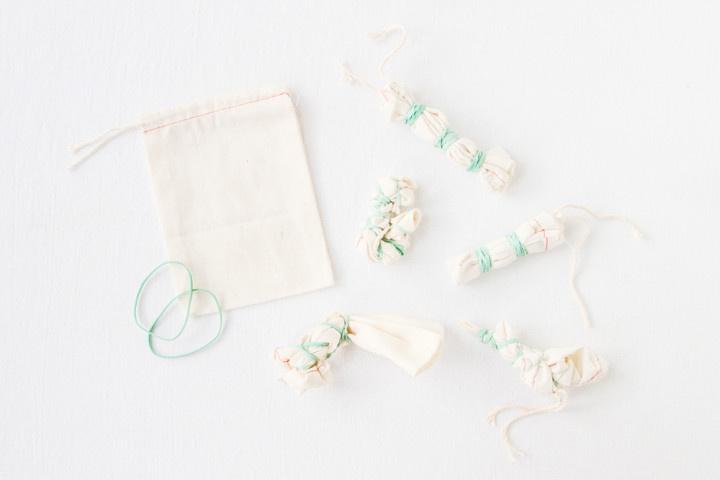
Step One: For a more even dye result, start by briefly soaking the bags in water, wringing them out, and smoothing out any wrinkles. Then, scrunch up and/or fold the bags in various ways and wrap rubber bands around them, as shown. Note: The end pattern will depend on the placement of the rubber bands and the way the bags are scrunched or folded.
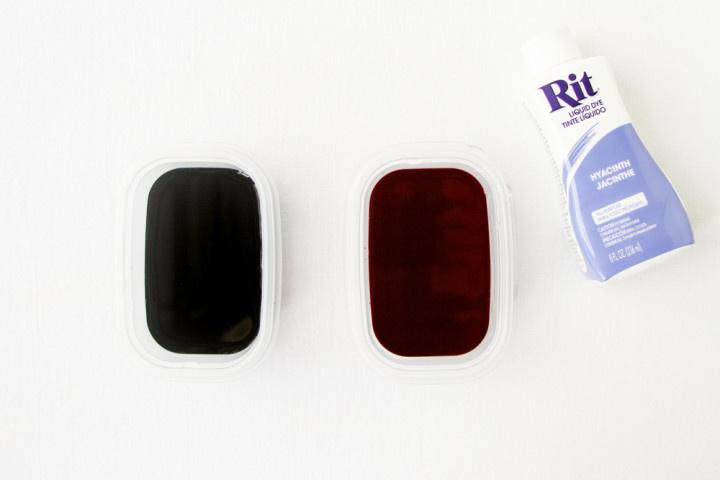
Step Two: Next, add the dye to warm water and stir. The dye to water ratio depends on the weight of the bags you are using. Follow instructions on packaging.
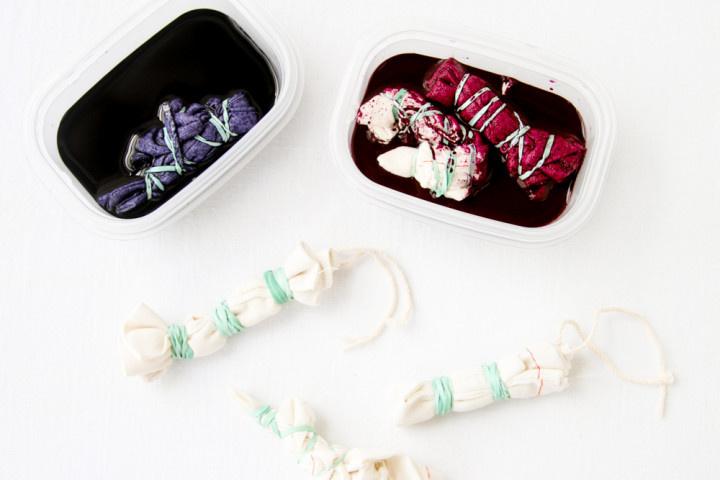
Step Three: Add the bags to the dye bath and let the fabric soak in the dye for 5-10 minutes. The longer the bags are in the dye, the darker the color will be. If the desired richness has not yet been achieved, you can keep the bags even longer than the allotted time. Note: The fabric will look darker when it's wet, so keep that in mind when determining whether you have reached the desired color.
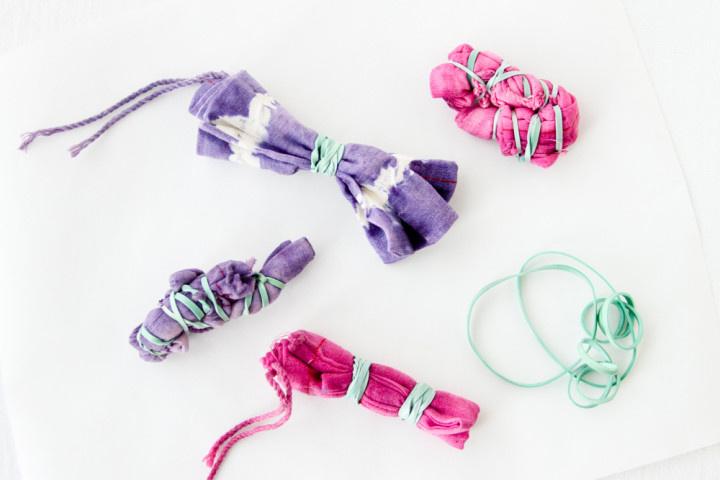
Step Four: Remove from dye and wring out the excess dye from the fabric. Then remove the rubber bands and run the bags under cold water until the water runs clear.
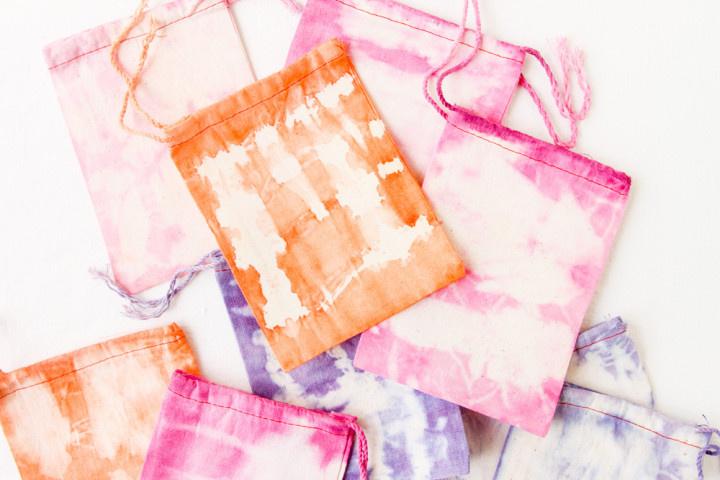
Step Five: Wash and dry the bags in the washer and dryer. Then, they're ready to be used! Note: For unwrapped food products, be sure to add a food safe bag to the inside of the fabric bag before filling. Or add pre-wrapped candies or non-edibles directly into the fabric bags.
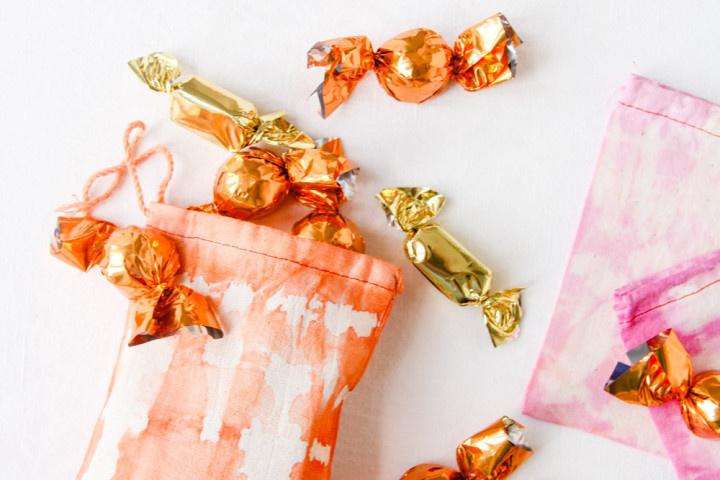
Your guests will love taking home these pretty treat bags!


